
Shooting Silhouette images
Silhouettes are solid cutout mask shapes of people, animals, birds or any other object against a light background. These images maybe be monochrome or in color, but the silhouette shapes are mostly in solid black. The background can be plain, a gradient or even some texture.
Silhouettes can also be presented over a dark background. Here the shapes are defined more by an outline or a glow surrounding the shape of the object. These essentially categorize under Rim Lighting, so I’m not including those examples in this compilation.
In this article I’m trying to put together my observation and opinion about how to photograph silhouettes easily, without much post processing of the image.
The most common usage of this technique is during the sunrise and the sunset, unless you are shooting in bright daylight, against the light with a clear sky in the background.
Contrary to common belief silhouettes are much easier to shoot. The trick is to get that correct underexposure so that the shape in the foreground becomes very dark. Consequently the background colors get enhanced or surreal. For this one needs to understand the required exposure (combination of the shutter speed, aperture and ISO) for the particular frame using the camera’s exposure meter and then purposely underexposing it to get the necessary result.
A few pointers that may help create good silhouette images.
- Preferably use the Manual mode for shooting silhouettes, but if using priority mode go for Aperture priority.
- Partial or Center Weighted metering works best, according to me.
Shoot on a low ISO setting, not more than 400. - Meter the light in the mid-tones or the partly illuminated areas. So in case of a sunrise or a sunset, choose the partially lit up sky, not the bright or the dark areas.
- Once you get the reading, underexpose the image by reducing the shutter speed or the aperture (in case of Manual mode). In case of Aperture Priority mode you may reduce the exposure compensation.
- The extent to which you underexpose the image may depend on your liking or the kind of contrast you are looking for in the image.
The above pointers are generic reference points to help achieve a standard Silhouette image. These guidelines are listed assuming that one would be shooting in strong light, where the shutter speed would be good enough for hand held shots. Further at an intermediate level, one can experiment with slow shutter (for motion blurs), small aperture – higher F number (for starbursts) and experiments with filters etc.
Sharing some examples of Silhouette images below. Happy shooting!!
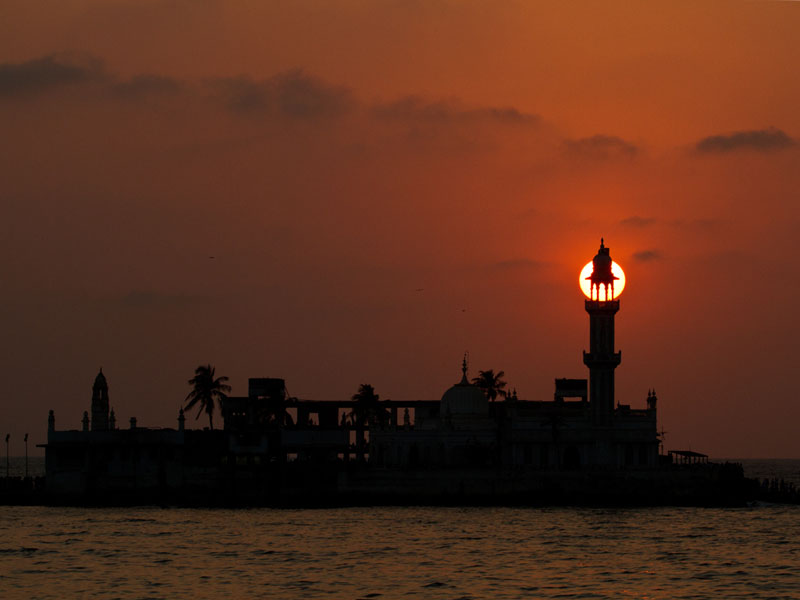
The Haji Ali Dargah, Mumbai
A misty sunrise across the grasslands
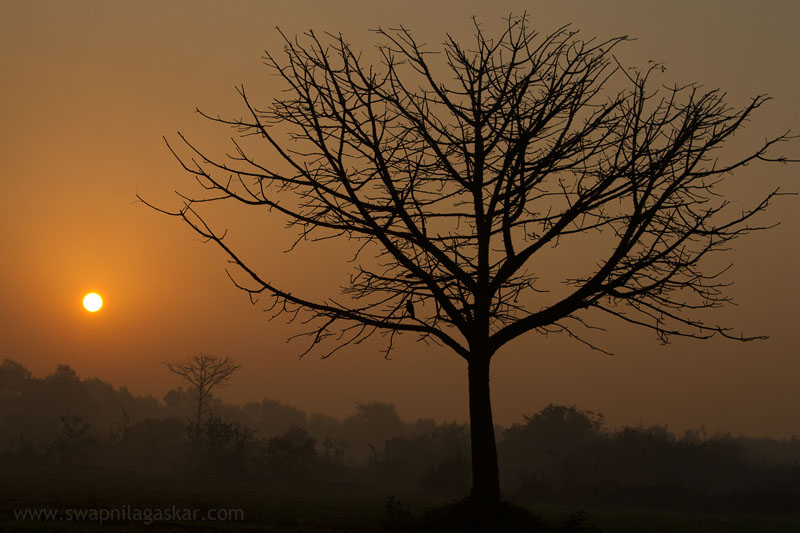
Winterscape. Dry trees provide nice shapes to shoot silhouettes
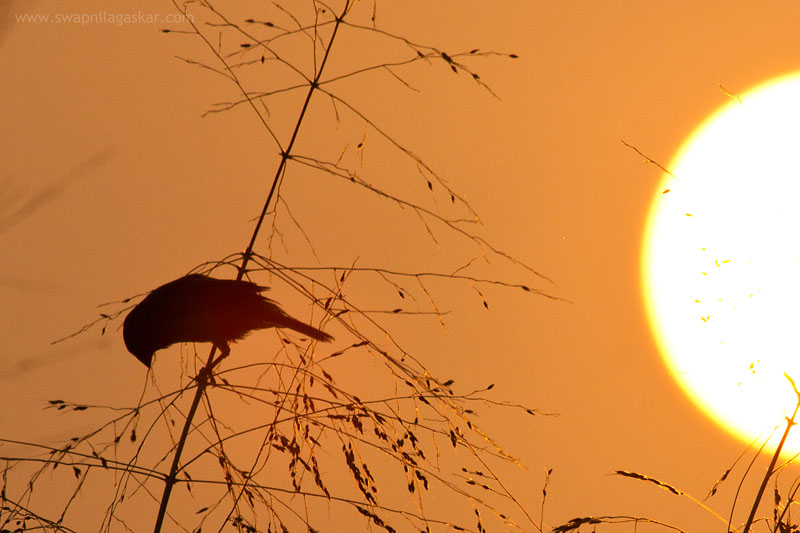
A Baya Weaver feeding at sunrise.
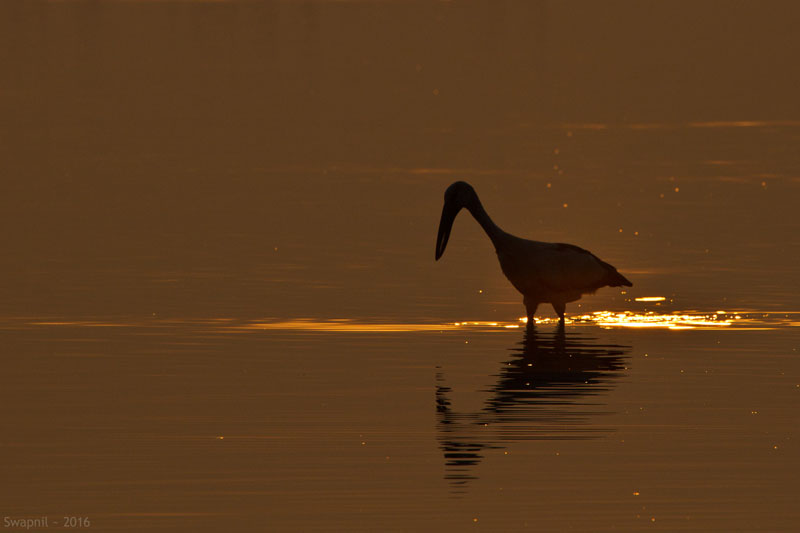
An Asian Openbill Stork looking for food
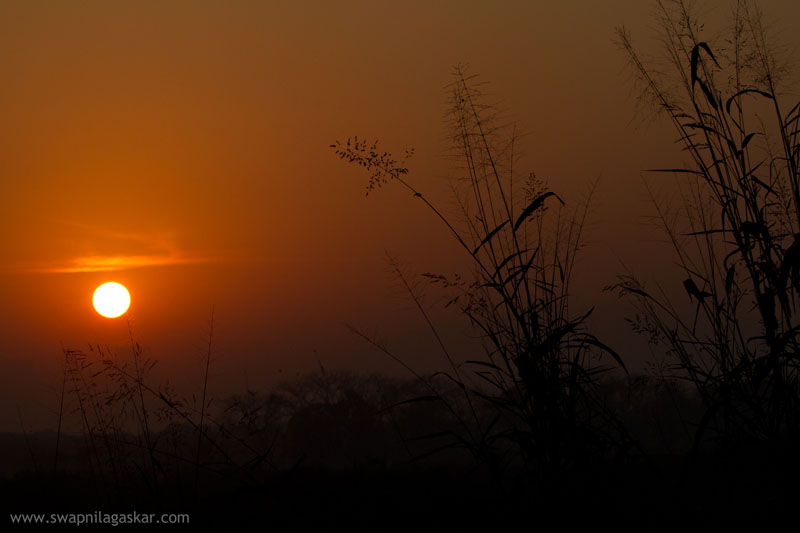
Silhouettes of grass blades against a rising sun